Part 3: Installation Made Easy – How to Set Up Your Aisle Signs Like a Pro

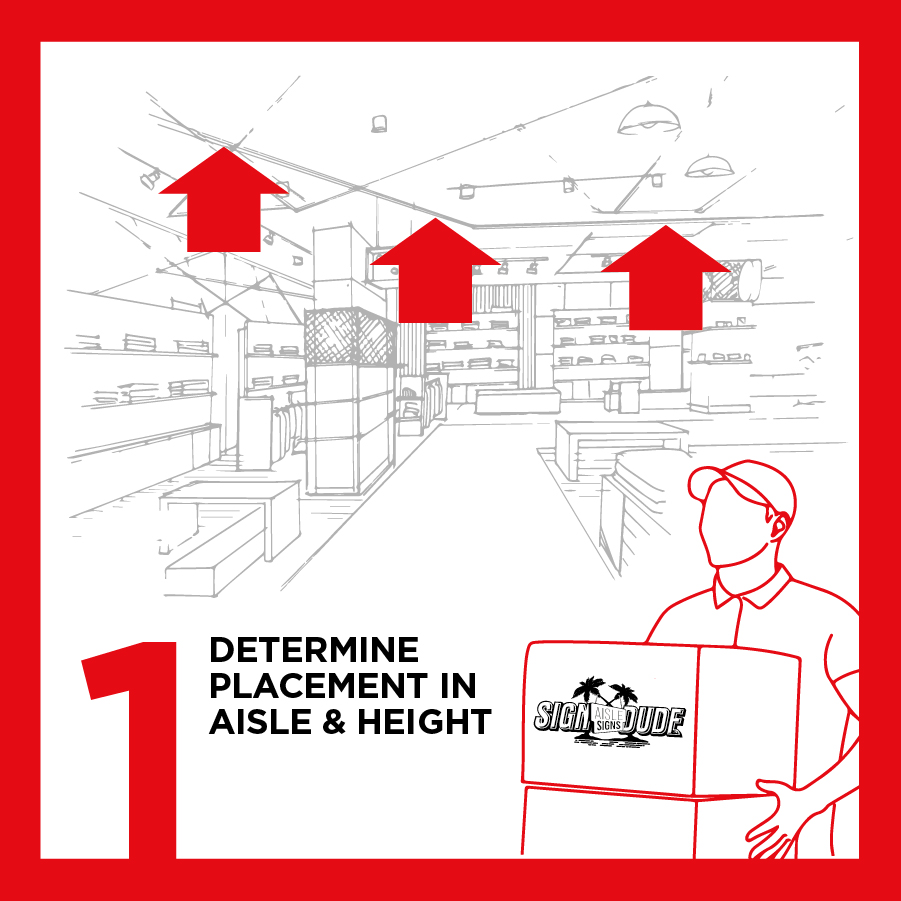
In the final installment, we’ll guide you through the installation process of your aisle signs. Learn about the different mounting options, tips for ensuring your signs are securely placed, and how to make adjustments over time as your store layout evolves. Make installation quick, easy, and hassle-free.
Key Points:
- Installation Methods for Different Store Environments Depending on your store setup, aisle signs can be mounted in several ways. Ceiling-hung signs are perfect for large spaces with high ceilings, while wall-mounted signs work well in more compact stores. Magnetic or adhesive mounts can be used for metal shelving, offering flexible and non-permanent solutions.
- Tools You’ll Need for a Smooth Setup Preparing the right tools ahead of installation ensures a seamless process. A basic kit might include a measuring tape, level, screwdriver, mounting hardware, and adhesive. Having these ready will help you efficiently install your signs without unnecessary delays.
- Maintaining and Updating Your Signs for Long-Term Success Over time, stores evolve—new products are added, and sections may shift. It’s essential to keep your aisle signs up-to-date to reflect these changes. Regularly inspect your signs for wear and tear, and be ready to refresh them when needed. AisleSignDude.com offers durable signage solutions designed to withstand time, but maintaining their appearance ensures they continue to serve their purpose effectively.


 MADE IN THE USA